Adding a New Client
Create a client profile from the Clients page. Only a first name is required; add as much contact detail as you have so reminders and follow-ups work smoothly.
Open the form
- Go to Clients.
- Click Add Client in the top-right corner.
A drawer opens on the right with the new client form.
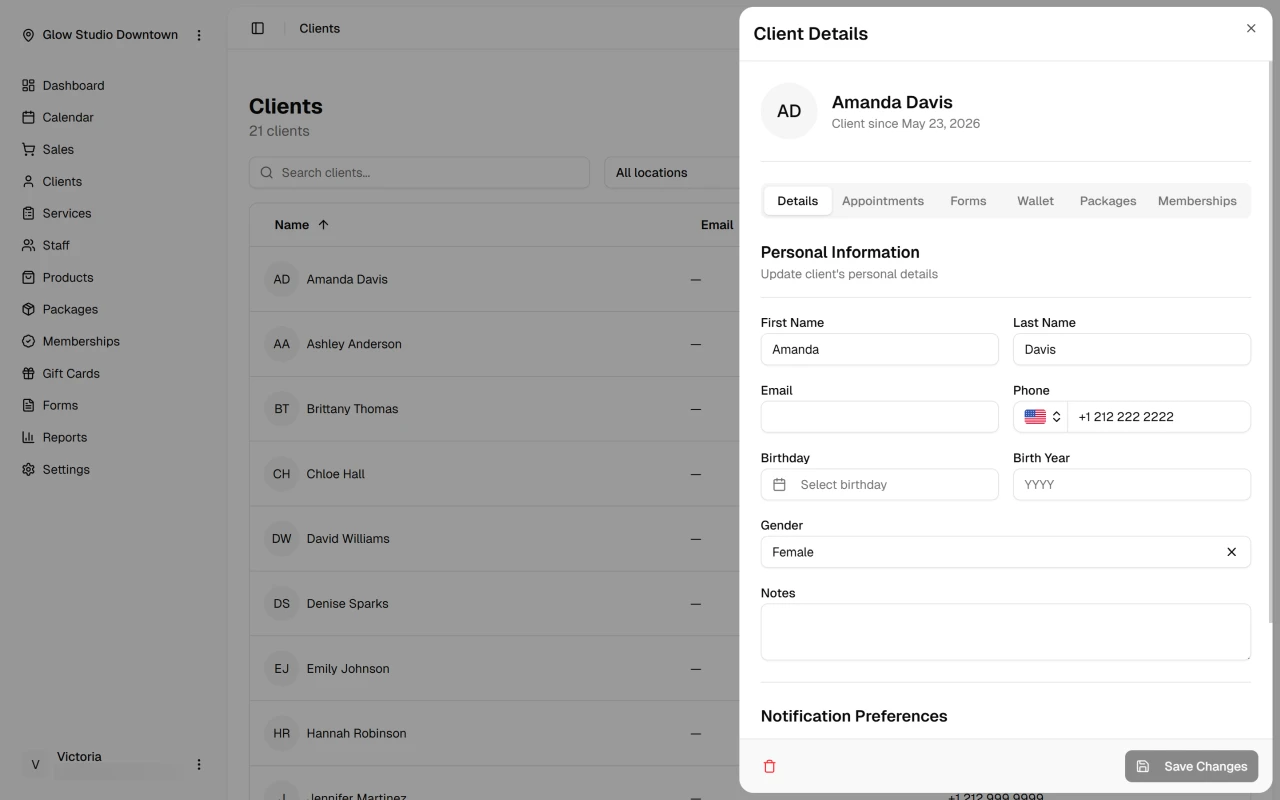
Fill in client details
Required
- First Name — The only required field. This name appears in communications and on the client list.
Optional
- Last Name — Shown on the client list and in communications.
- Email — Used for appointment reminders and other email. Must be a valid address.
- Phone — Used for SMS reminders and quick contact. Formats automatically as you type.
- Birthday — Pick a date with the calendar icon. Useful for birthday messages.
- Birth Year — Four-digit year. Helps with age-appropriate service suggestions.
- Gender — Male, Female, or Other.
- Notes — Preferences, allergies, or anything your team should know.
Set notification preferences
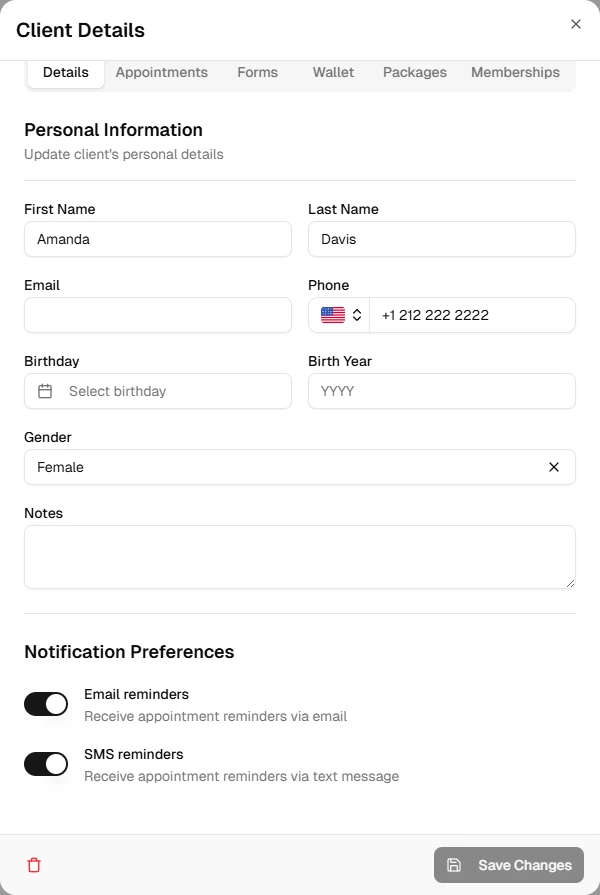
- Email reminders — On by default. Sends appointment confirmations and reminders.
- SMS reminders — On by default when your plan includes SMS.
Turn either option off if the client does not want that channel.
Save the profile
- Review the information you entered.
- Click Create Client at the bottom of the drawer.
The client is added to your list and you are taken to their full profile.
Tips
- Add email and phone when you have them so reminders reach the client.
- Use Notes for preferences or special requirements your team should see at a glance.
- Made a mistake? Open the client from the list and edit their profile.