Creating and Sharing Forms
DaySpark's form designer makes it easy to create professional forms for your business. In this guide, we'll walk through the process of creating a new form from scratch.
Getting Started
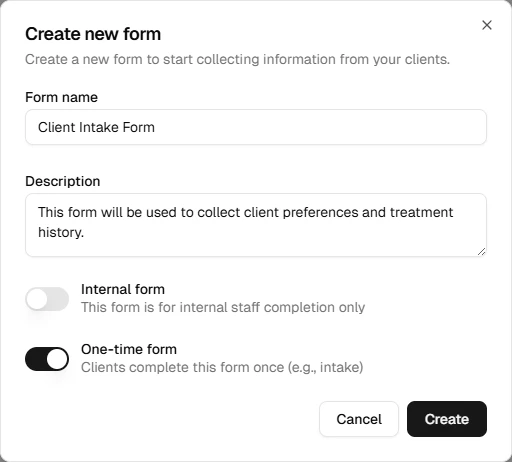
To create a new form, start by clicking the "Create Form" button in the Forms section. You'll need to provide some basic information in the window that appears:
- Enter a descriptive name for your form
- Add a brief description to help identify its purpose
- Optionally turn on One-time form if clients should only complete it once (useful for intake)
- Optionally turn on Internal form if staff will complete it instead of the client — for example, SOAP notes or a post-treatment checklist. See Internal forms below
- Click Create to open the form designer
Using the Form Designer
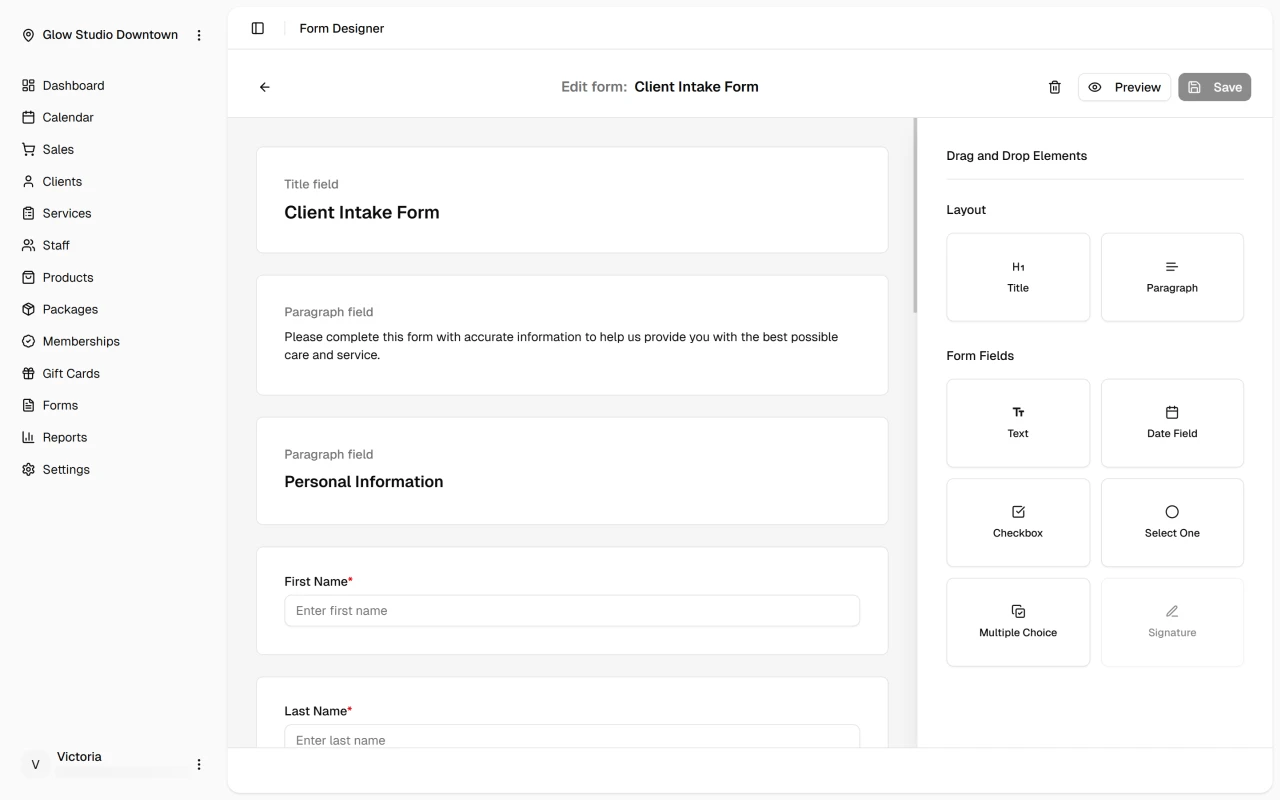
The form designer provides a drag-and-drop interface that makes form creation intuitive. On the right side, you'll see a panel of available field types. To add a field to your form:
- Click and drag the desired field type from the right panel
- Drop it where you want it to appear in your form
- Click the field to open its Element Properties panel in the sidebar — the field palette is replaced by settings for that field
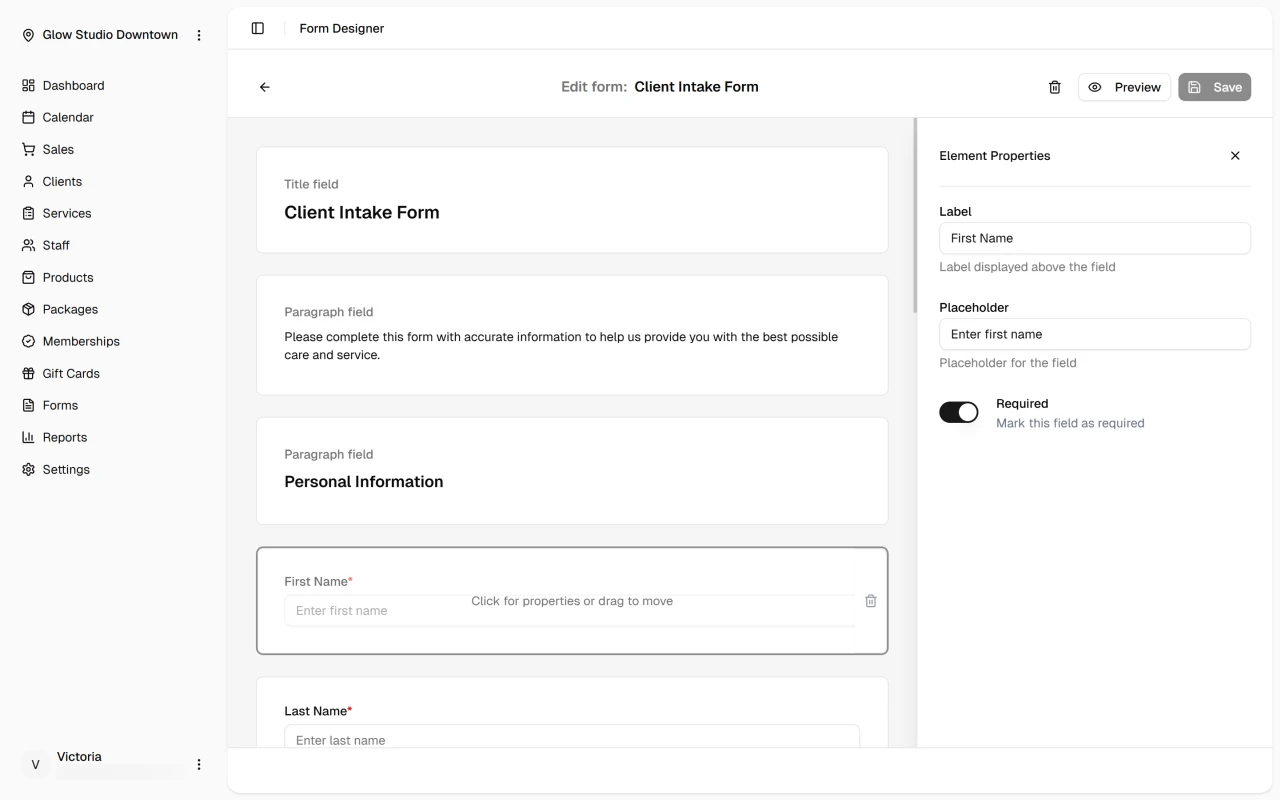
- Configure the field in the properties panel — changes apply when you click away or tab out of a setting. Click X to deselect the field and return to the element palette
Each field type exposes different properties:
| Field type | Properties |
|---|---|
| Title | Title text |
| Paragraph | Rich text content (bold, italic, lists, headings) |
| Text | Label, placeholder, required |
| Date | Label, required |
| Checkbox | Label, required |
| Signature | Label, required |
| Select One | Label, required, options (add or remove, up to 10) |
| Multiple Choice | Label, options (add or remove, up to 10) |
You can easily rearrange fields by dragging them to new positions within your form.
- To remove a field, hover over it and click the trash icon

Field Types

DaySpark offers 8 field types to display and collect information from your clients:
| Field | Use for |
|---|---|
| Title | Section headings to break up long forms |
| Paragraph | Instructions, terms, or other formatted text |
| Text | Short answers — names, addresses, and similar |
| Date | Picking a date from a calendar |
| Checkbox | Yes/no responses, consent, or agreements |
| Signature | Capturing a digital signature |
| Select One | Choosing one option from a list you define |
| Multiple Choice | Selecting one or more options ("select all that apply") |
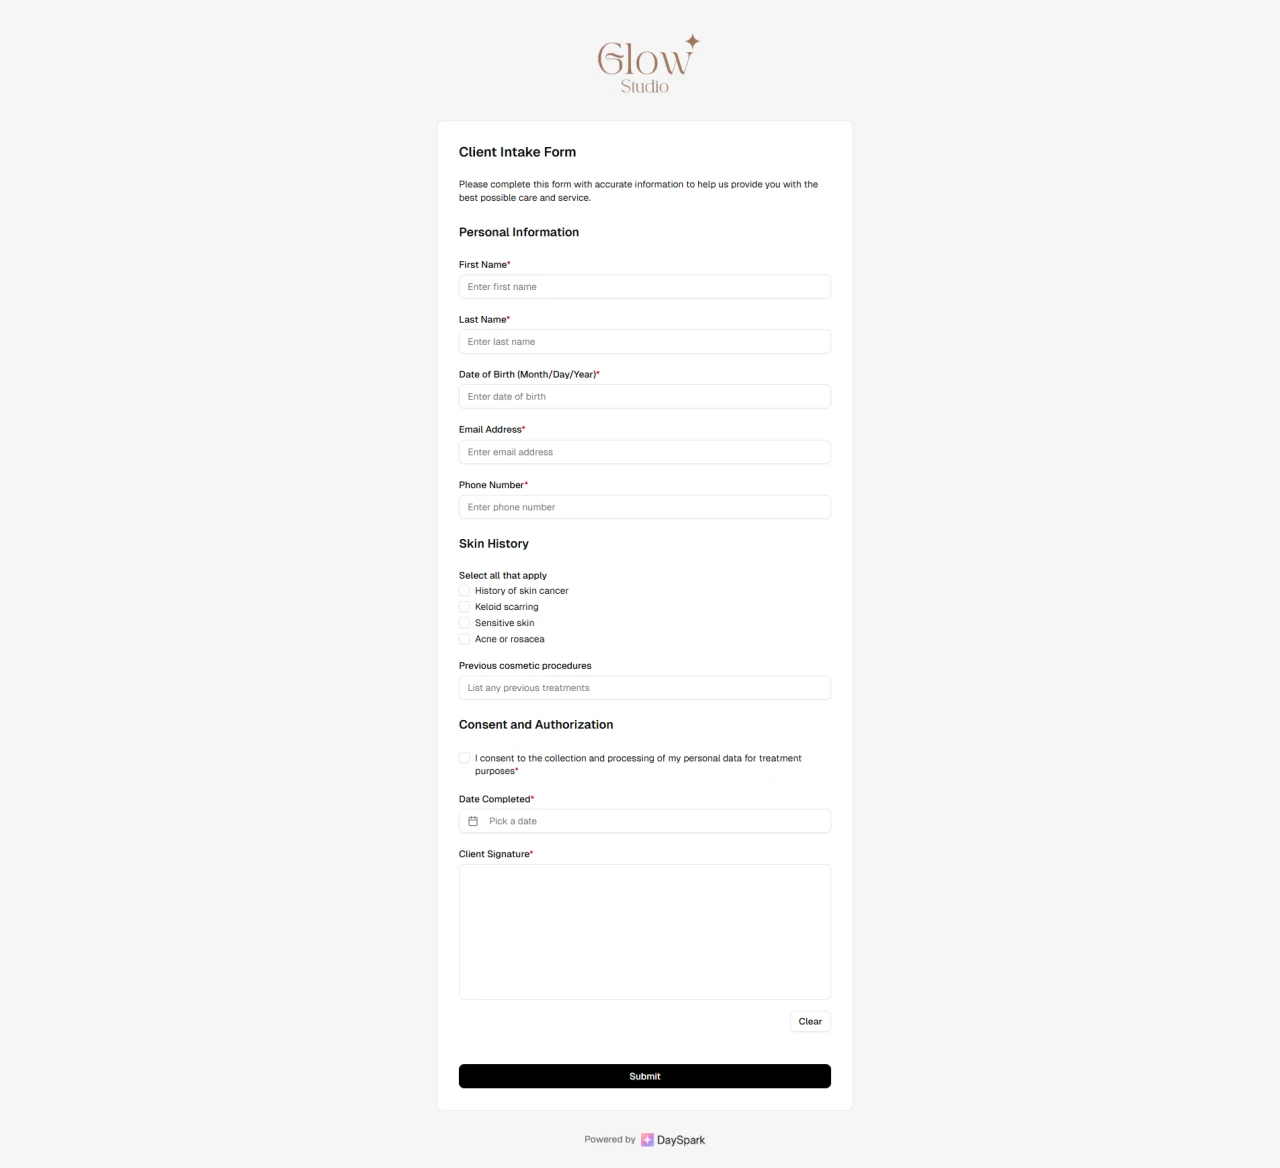
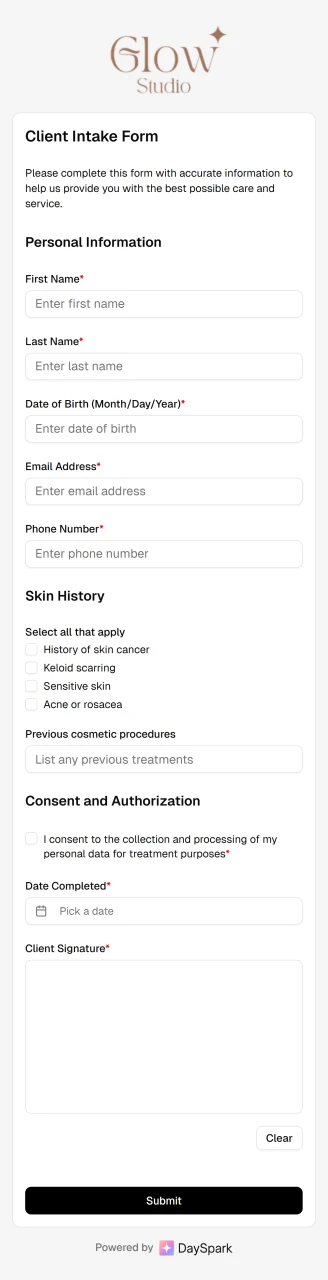
Previewing Your Form
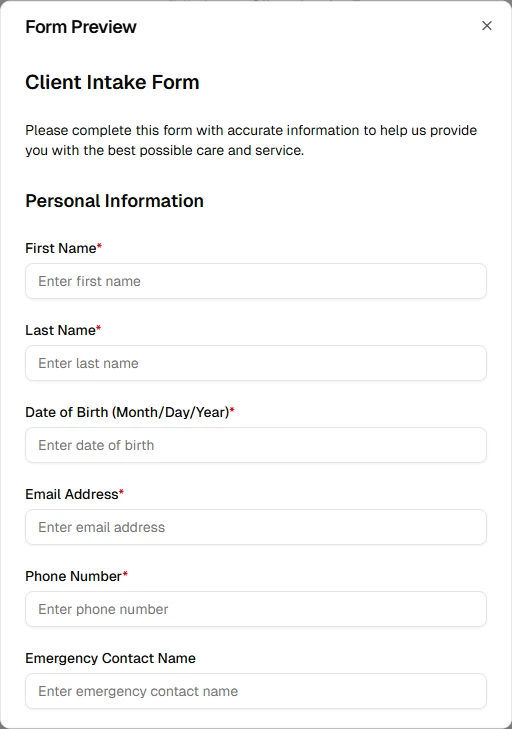
Before publishing your form, you can see what the form will look like for clients:
- Click the "Preview" button to see how your form will look
- Confirm that all fields appear as expected
- Close the Preview dialog to return to the form designer
Internal forms
Turn on Internal form when creating a form if your team should fill it in — not the client. Use these for checklists, treatment notes, or other documentation staff complete during or after an appointment.
Internal forms use the same designer and field types as client forms. On the forms list, they show an Internal badge (staff-only, not sent to clients).
Assign internal forms to services the same way as client forms — see Assigning forms to services. They appear on appointments for that service, but are never included in booking confirmation emails and have no client share link.
To complete one, open the appointment and go to the Forms section. Click the pencil icon to Complete form, or Edit form after a submission.
Saving and Sharing
When you're happy with your form:
- Click Save at the top-right corner to keep your changes
- Return to the forms list
- Your form is now ready to be assigned to services and shared with clients
Client forms
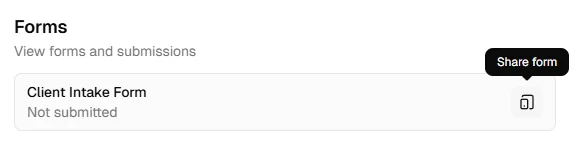
Client-facing forms are shared in three ways:
- Forms assigned to services are automatically sent to clients in their booking confirmation email (internal forms are excluded)
- From the Calendar appointment drawer, click the share icon on an unsubmitted form to open the share dialog:
- iPad — scan the QR code with the iPad camera to open the form, then hand the iPad to the client
- Email — click Copy URL in the dialog and paste the link into an email to your client
What's Next?
Learn more about:
Quick Tip
Keep your forms focused and concise. Only ask for information that you'll actually use in providing your services.