Adding a Product
This guide walks you through creating and editing products in your DaySpark catalog.
Creating a Product
Step 1: Access the Products Page
- Navigate to Products in the sidebar
- Click Add New in the top right and select Product

Step 2: Fill Out the Product Information
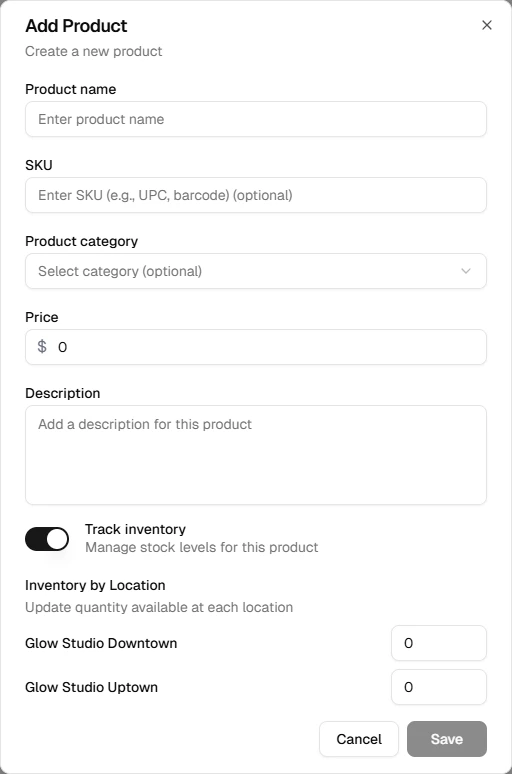
A form opens with the product details:
Required Fields
- Product name – A clear name that staff will recognize at checkout
- Price – The selling price for this product
Optional Fields
- SKU – An internal stock-keeping unit for reference
- Category – Assign the product to an existing category. Create a category first if needed
- Description – Additional details about the product
Step 3: Configure Inventory (Optional)
- Track inventory – Toggle on to manage stock quantities per location
- When enabled, set the quantity available at each location
- When disabled, the product can be sold without stock limits
Step 4: Save the Product
- Review the entered information
- Click Create to add the product to your catalog
- The product appears in the table and is available at checkout for assigned locations
Editing a Product
To update an existing product:
- Go to Products in the sidebar
- Click the product row you want to edit
- Update the fields as needed
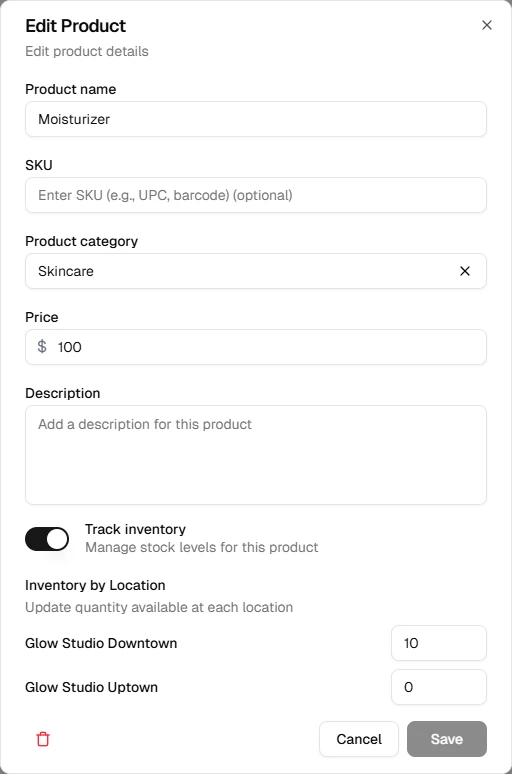
- Click Update to save your changes
You can also delete a product from the edit dialog if it is no longer offered.
What's Next?
After adding products:
- Manage categories
- Process a sale and add products to the cart
Tips for Success
- Use categories to group products the way staff think about them at the register
- Enable inventory tracking for items with limited stock
- Keep SKUs consistent if you use them for reordering or reporting