Online Booking Overview
Online booking gives clients a public page to browse your services, pick a time, and confirm their appointment — without calling or messaging you.
The Client Experience
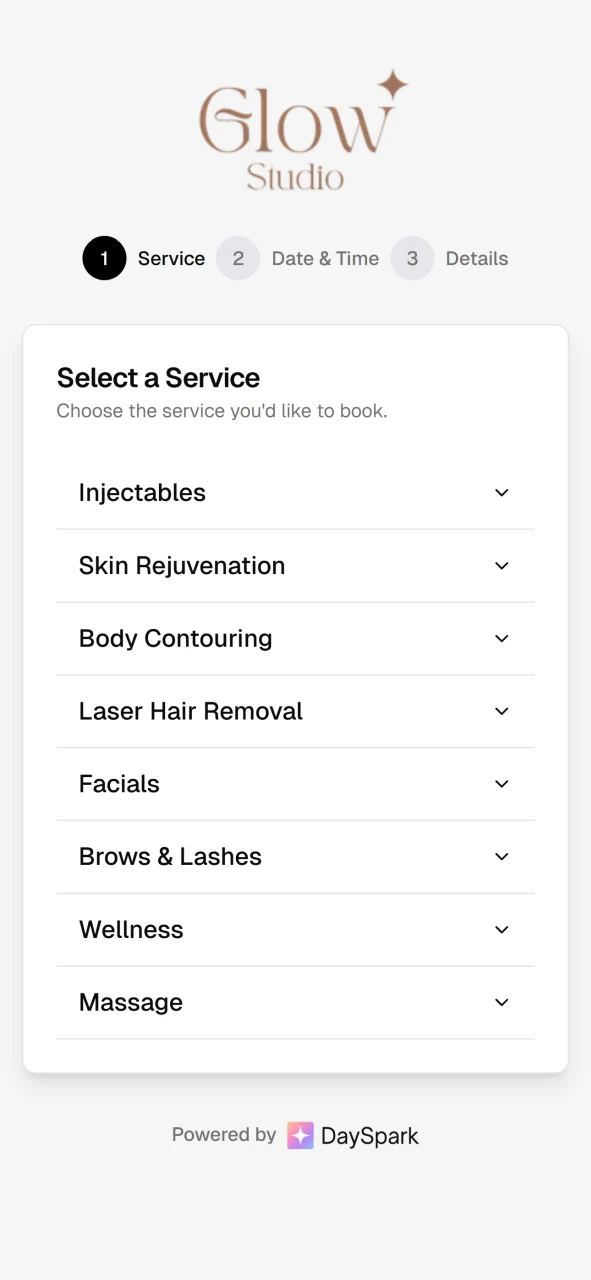
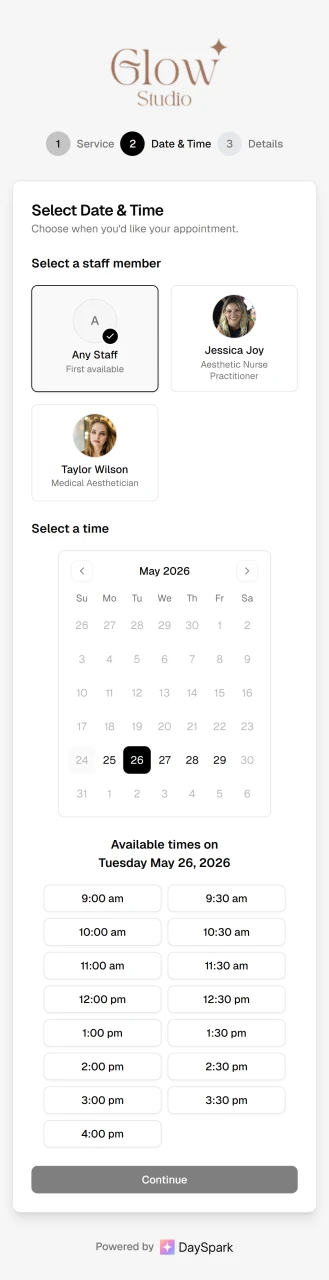
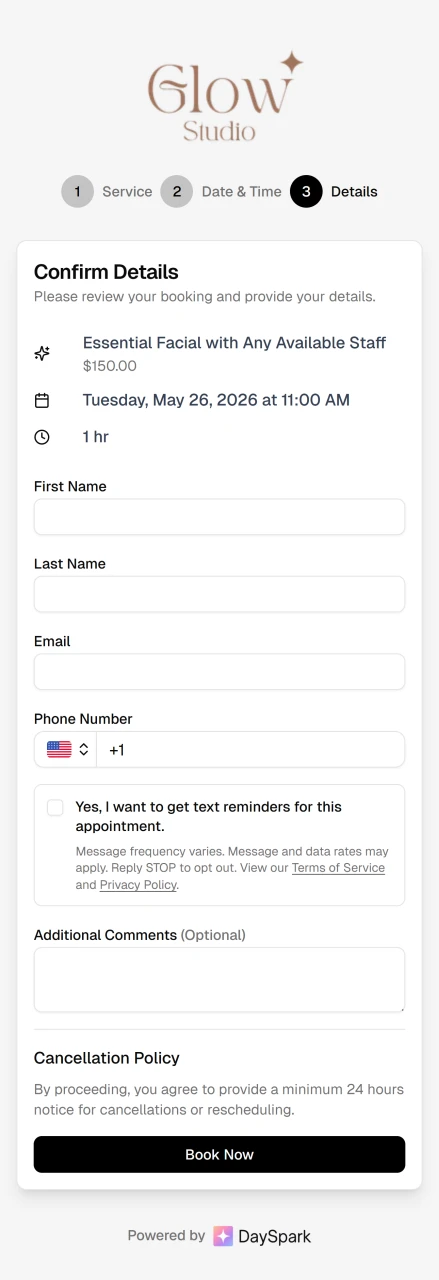
Clients choose a service, select an available time, enter their details, and receive instant confirmation.
Setting Up Your Booking Page
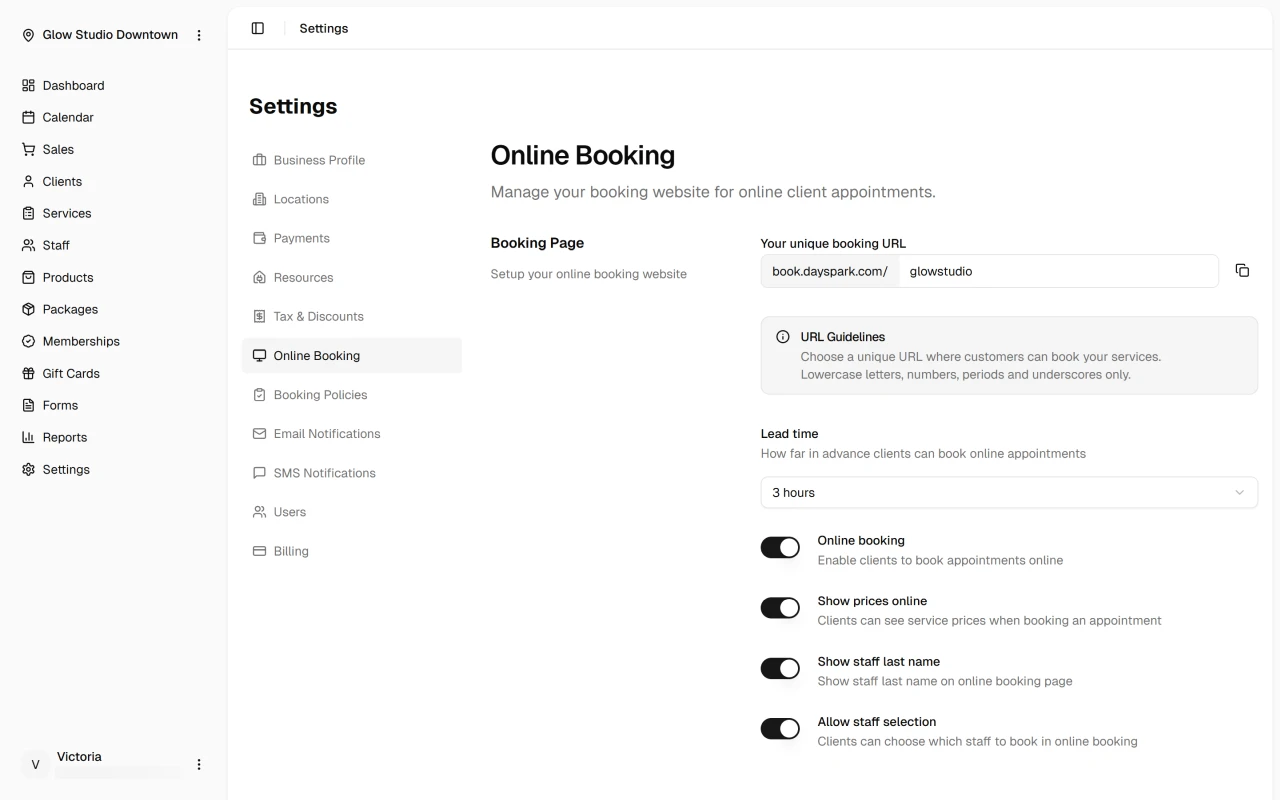
Open Settings → Online Booking to create and configure your booking page:
- Create your URL — enter a custom slug (e.g.
your-business-name). DaySpark checks availability as you type.


URL guidelines
Use lowercase letters, numbers, periods, or underscores only.
Configure settings — enable online booking, set lead time (how far in advance clients can book — from 30 minutes to 3 days), and choose whether to show prices, display staff last names, and allow staff selection.
Share your link — add your booking URL to your website, Instagram and social profiles, or anywhere clients find you.
Enable Staff for Online Booking
Clients can only book staff who are enabled for online booking. In Staff, open a team member's profile and toggle Online booking on. Confirm their working hours and assigned services are set up — see Edit staff member.
Next Steps
Quick Tip
Preview your booking page from a client's perspective to confirm the right services and staff are showing.