Adding a New Service
Let's walk through creating a new service in DaySpark! This guide will show you exactly how to add all the important details about your services.
Creating a Service Profile
Step 1: Access the Services Page
- Navigate to the Services page in your DaySpark application.
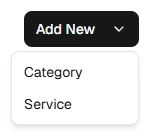
- Click on the "Add New" button located at the top right corner of the page and select "Service" from the dropdown menu.
Step 2: Fill Out the Service Information
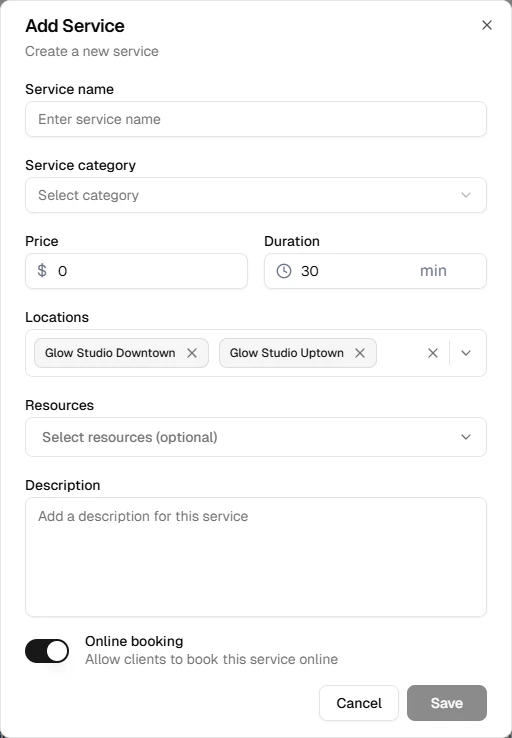
- A form will appear, presenting you with fields to fill out the service's details.
Required Fields
- Service Name: This is a mandatory field. Choose a clear, descriptive name that clients will understand.
- Category: Choose an existing category to organize your services. You'll need to create a new category first if the one you're looking for is not yet available.
- Price: Enter the base price for the service.
- Duration: Set how long the service takes to complete.
- Locations: Select which locations offer this service.
- All locations are pre-selected by default. Deselect any locations where the service isn't available.
Assigning Services to Locations
Services will only be available in the calendar and online booking at assigned locations. This is helpful for multi-location businesses where each location offers different services.
Optional Fields
- Description: Provide details about what the service includes and what clients can expect.
Step 3: Configure Service Settings
- Online Booking: Toggle on/off to allow clients to book this service online. Enabled by default.
Step 4: Assign a Resource (Optional)
If your business uses shared physical assets — such as treatment rooms, laser machines, or equipment bays — you can link a resource to this service per location. Once assigned, DaySpark will track that resource's availability and prevent it from being double booked.
In the service form, find the Locations section and open the Resource dropdown next to the relevant location. Only resources created for that location will appear.
See Resources for a full guide on setting up resources and understanding how double booking prevention works.
Step 5: Save the Service
- Review all entered information.
- Click the "Create Service" button at the bottom of the form.
- The service will be added to your system.
Step 6: Assign Staff Members
- You can assign services to staff through the Staff page where you can manage which team members are qualified for each service.
Service Booking Availability
The service will not be available for booking until staff members are assigned to it. Make sure to complete the staff assignment step after creating your service.
Tips for Success:
- Use clear, client-friendly service names that describe what they'll receive.
- Set realistic durations to avoid scheduling conflicts.
- Add detailed descriptions to help clients understand what's included.
- Assign services to the appropriate locations where they're actually offered.
- Consider your staff's skills when assigning services.
What's Next?
After creating your service:
- Manage service categories
- Assign services to staff
- Set up resources to prevent double booking
- Schedule appointments
Quick Tip
Choose the right category for your service to help clients find it easily. If you don't have a suitable category, create a new one first.