Card Reader Setup
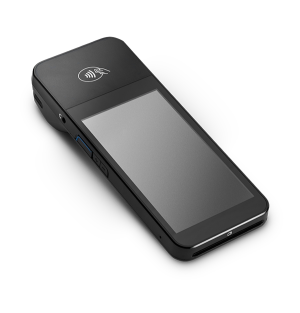
DaySpark supports the WisePOS E Smart Terminal for in-person card payments. The reader connects over Wi-Fi and lets customers tap, insert, or swipe their card — including contactless payments (Apple Pay, Google Pay, Interac Debit) — directly at the counter.
Hardware: WisePOS E
| Feature | Detail |
|---|---|
| Screen | 5" customer-facing touchscreen |
| Connectivity | Wi-Fi, Ethernet, and built-in battery |
| Payment types | Chip & PIN, contactless NFC, Apple Pay, Google Pay, Interac Debit (CA) |
| Tipping | On-screen tip selection (percentages or fixed amounts) |
| Price | $299 USD / $372 CAD (includes shipping and applicable tax) |
Requirements
- Admin account access
- Stripe Connect active for the location (complete Stripe onboarding first)
- A paid plan — card readers cannot be ordered during a free trial
Step 1: Order the Reader
- Go to Settings in the sidebar
- Click Payments
- Find the location you want to set up and click Order Terminal
- Complete the Stripe checkout (the reader is billed separately from your DaySpark subscription)
- The reader ships to your location's address — estimated delivery is 5–7 business days
Once your order is placed, the Payments page shows an order status banner. When the reader arrives, continue to Step 2.
INFO
One reader per location is supported. The hardware ships to the address on file for the selected location.
Step 2: Set Up the Reader
When your WisePOS E arrives:
- Plug in the reader using the included cable or place it on the charging dock
- Power it on and connect it to your Wi-Fi network using the reader's touchscreen
Wi-Fi requirements
The reader requires a WPA or WPA2 Personal password-protected Wi-Fi network.
If your network is hidden (SSID not broadcast), you must first connect to a visible network so the reader can download its latest firmware.
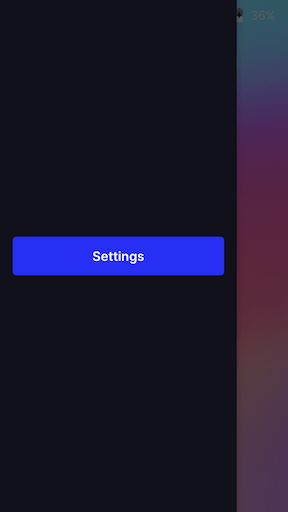
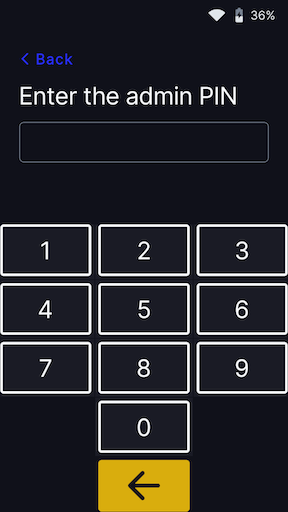
Accessing Reader Settings
To open the settings menu, swipe right from the left edge of the reader screen. Tap Settings and enter the admin passcode 07139.
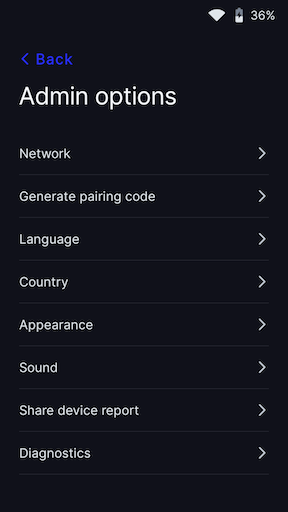
From the settings menu you can:
- Update Wi-Fi settings — connect to a different network or troubleshoot connectivity
- Generate a pairing code — use this if the pairing code has expired or you need to re-register the reader
The battery status is shown at the top right of the settings screen. To close the menu, tap the back arrow in the top left corner.
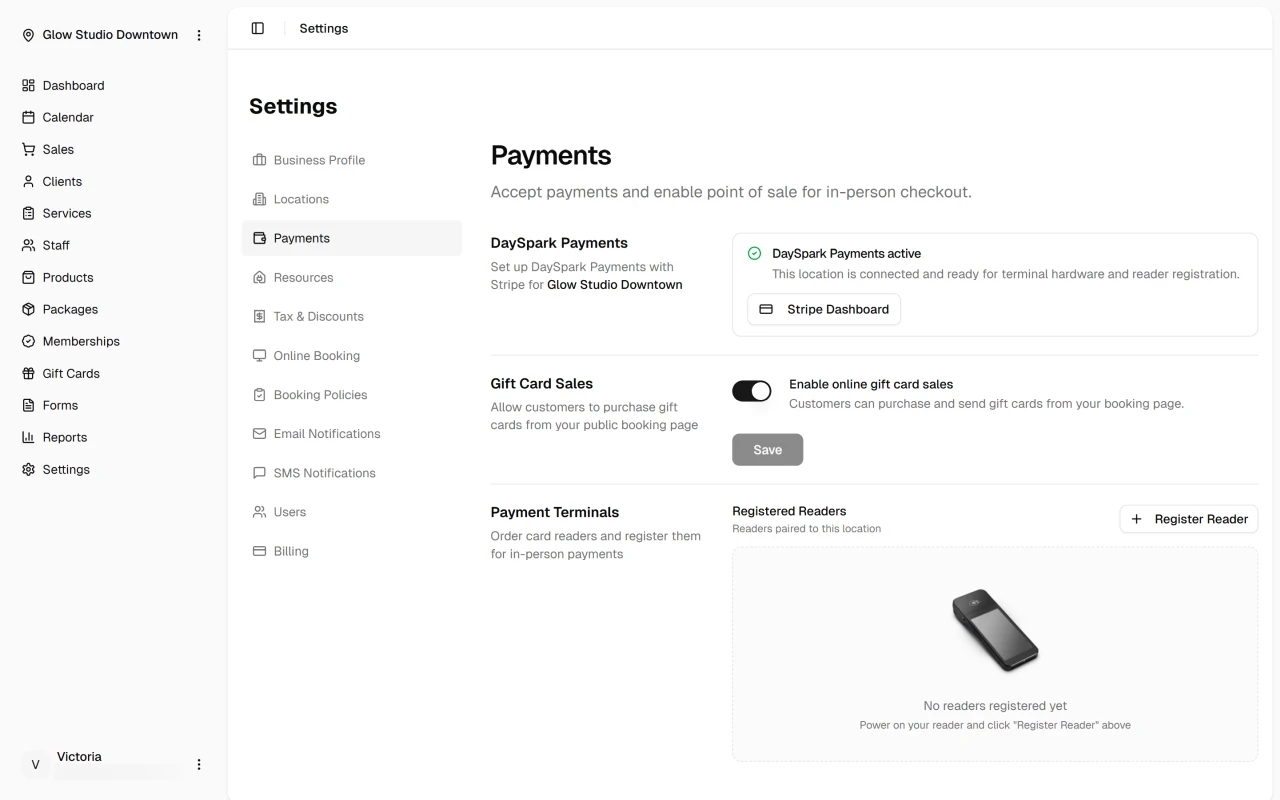
Step 3: Register the Reader in DaySpark
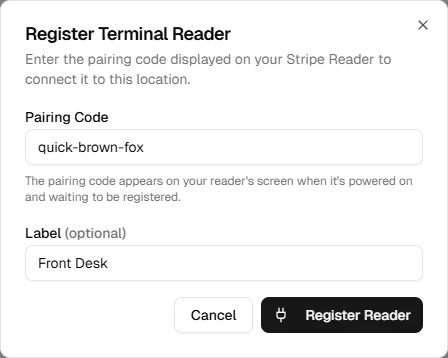
- Go to Settings > Payments
- Click Register reader
- Enter the pairing code shown on the reader's screen (e.g.,
rapid-tiger-apple) - Optionally give the reader a label (e.g., "Front desk")
- Click Register
The reader appears in the reader list with its status (online/offline). Once registered, it is available for in-person payments at that location.
Taking Payments with the Reader
See Card Reader (Terminal) in Payment Methods for the full payment flow.
Quick reference:
- Build your cart and proceed to Complete Payment
- Select Card reader
- Click Charge reader — the reader activates and prompts the customer
- Customer selects a tip (if not already set in the cart) and presents their card
- Sale completes automatically once the card is authorized
On-Reader Tipping
When the tip screen is enabled, the customer sees three percentage options (10%, 15%, 20%) and a "No tip" option. For sales under $10, the reader shows fixed amount options instead.
The tip screen is skipped automatically when:
- You add a tip in the cart before selecting the card reader
- You are collecting a deposit (the amount is fixed)
Reader Status
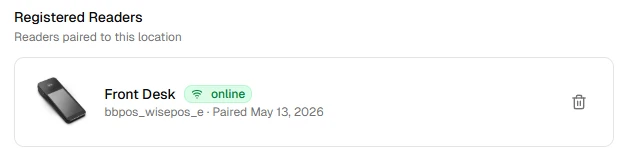
The Payments page shows each registered reader's status:
- Online – Connected to Wi-Fi and ready to accept payments
- Offline – Not reachable; check the reader's Wi-Fi connection and power
Removing a Reader
To unregister a reader:
- Go to Settings > Payments
- Find the reader in the list
- Click the delete icon and confirm
Removing a reader from DaySpark does not affect your Stripe account directly. The reader can be re-registered using a new pairing code if needed.