Managing Resources
Resources are created and managed from Settings → Resources. Each resource belongs to a single location, and you can have as many resources as your business needs.
Adding a Resource
- Go to Settings → Resources.
- Click Add resource in the top-right corner.
- In the dialog that opens:
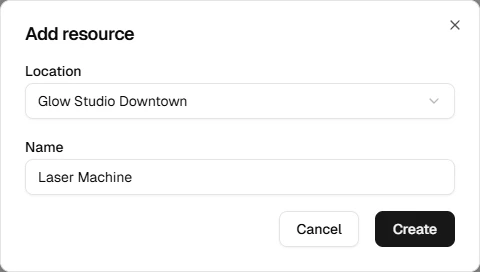
- Location — select the location where this resource is based. This cannot be changed after the resource is created.
- Name — enter a descriptive name (e.g. "Room A", "Laser 1", "Spray-Tan Booth").
- Click Create.
The resource will appear immediately in the list, grouped under its location.
TIP
Use names your team will instantly recognise on the calendar. Short, specific names like "Suite 2" or "Hydro Bed" work better than generic names like "Room".
Editing a Resource
You can rename a resource at any time:
- Click the pencil icon next to the resource you want to update.
- Change the Name field.
- Click Update.
INFO
The location assigned to a resource is fixed after creation and cannot be changed. If you need to move a resource to a different location, delete it and create a new one at the correct location.
Deleting a Resource
- Click the trash icon next to the resource.
- Confirm the deletion in the dialog that appears.
When a resource is deleted, any services that were linked to it will lose their resource assignment. Their existing appointments are unaffected, but future bookings will no longer track resource availability for those services until a new resource is assigned.
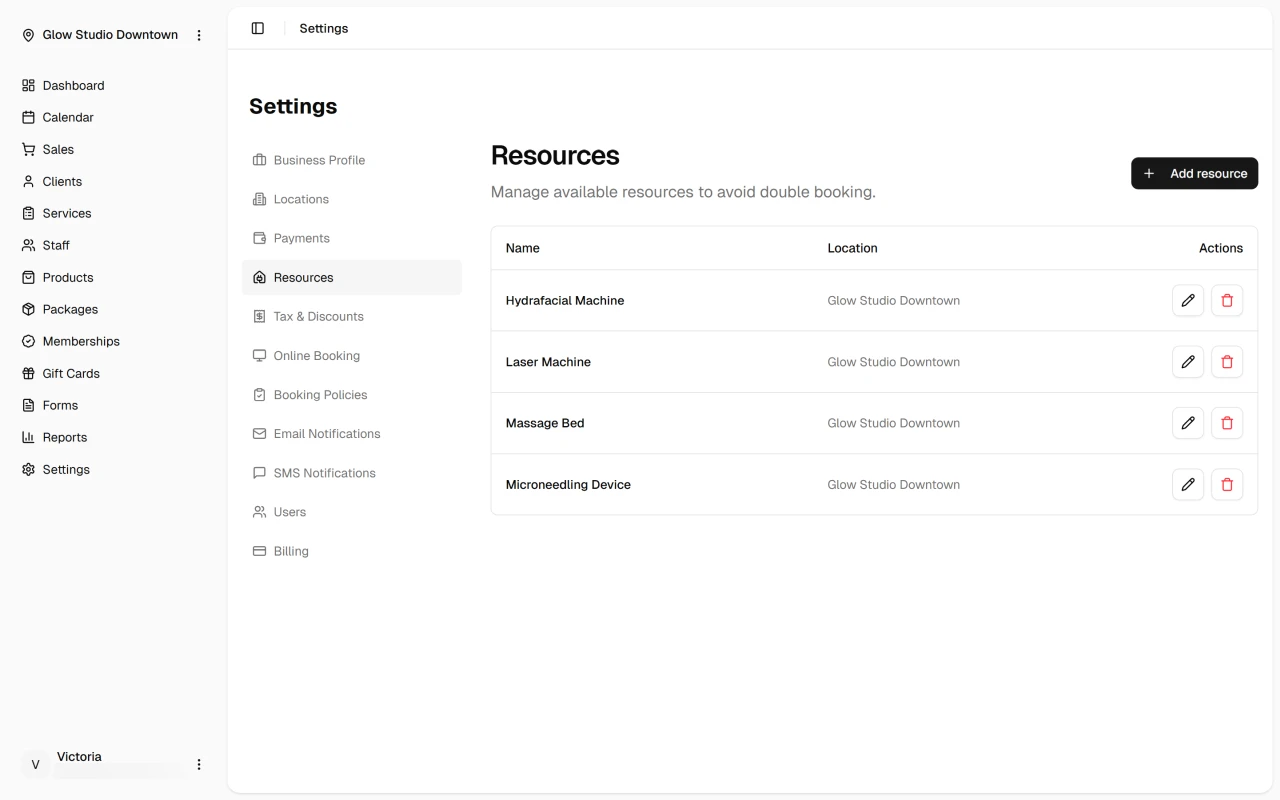
Resource List
The resource list shows every resource across all locations with its name and the location it belongs to. If you manage multiple locations, resources from all locations appear together in this list.
Next Steps
Once your resources are set up, link them to the services that use them: